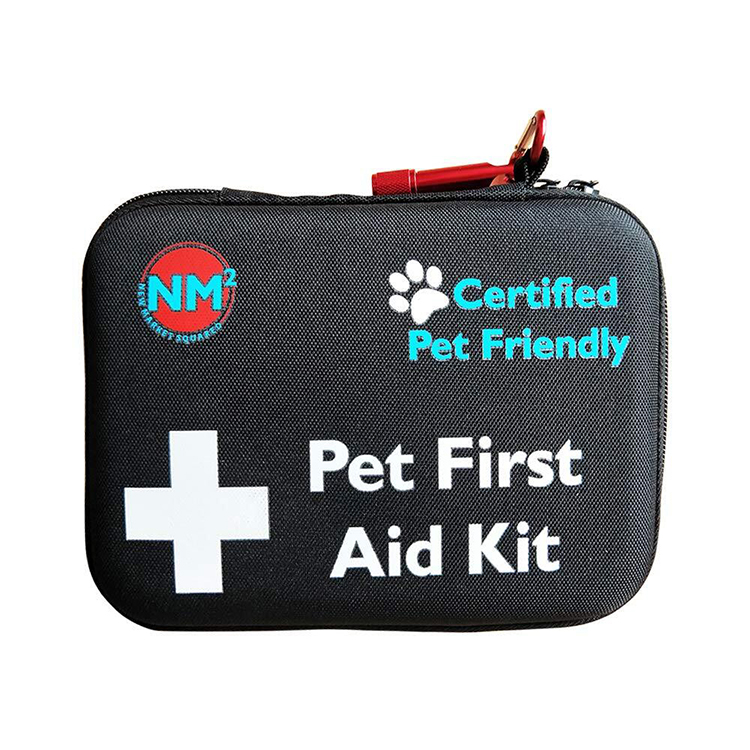
Outdoor gear is rarely built around one single use case. A kit that works on a short hiking route may need a different layout from one prepared for camping or travel in a remote area. That is why an Outdoor Survival Kit Factory usually has to think in layers: what the kit should carry, how it should be packed, and how quickly a user can reach each item when the situation becomes uncomfortable or uncertain.
In practice, the factory side of the work is not only about putting parts into a bag. It is about arranging small but useful functions so they sit together in a way that makes sense in real use. Some kits need to stay light and compact. Others need more room for extra items or a different layout for changing weather and terrain. The structure below follows that logic from production, to design, to materials, and then to tool assembly.
A production line for this kind of kit is usually divided by function, not by appearance. One station may deal with tool placement, another with soft goods, and another with the outer package. That separation helps keep the work clear when the same kit needs to be adjusted for different field settings.
For forest use, the focus often moves toward moisture protection and compact storage. For dry terrain, the concern may shift to heat exposure and keeping materials stable. Cold-weather use brings a different set of priorities, since parts and packaging need to stay practical in low temperatures. Travel kits, on the other hand, often need a more balanced layout because the user may move between different conditions in one trip.
| Field setting | What the line tends to focus on |
|---|---|
| Forest area | Moisture control and closed storage |
| Dry land | Material stability and simple packing |
| Cold area | Usability in low temperature |
| Mixed travel | Balanced layout and easy carrying |
The overall line is usually built so the factory can switch between these needs without rebuilding the whole process each time.
Modular design gives the kit more room to fit different users. Instead of locking every item into one fixed setup, the factory can divide the contents into separate parts. That way, a hiking version may stay lighter, while a camping version can hold more supplies, and a remote travel version can keep extra room for backup items.
The idea is simple. Some users only need the basics. Others want a structure that lets them swap one part without changing the whole bag. A modular layout makes that easier. It also helps buyers choose a kit that feels more personal to the way they travel.
A factory may organize the modules around these practical groups:
This approach usually works well when the buyer does not want a fixed bundle that feels too rigid. It leaves space for different habits and different routes.
Material choice matters because the kit is expected to stay usable even when conditions are not friendly. A good setup should not feel fragile in a wet bag, a dusty trail, or a place where temperature changes quickly.
That is why the factory often looks at materials in terms of how they behave, not just how they look. Metal parts need to resist wear and moisture. Fabric parts need to hold their shape and avoid easy tearing. Inner sections may need to stay clean and not react with other items in the kit. Even the outer pouch can affect how long the kit remains useful, since a weak cover can let in problems before the tools are even taken out.
A practical way to think about it is this:
In this stage, the factory is usually trying to reduce weak points. The goal is not to make every part heavy or overly complex. The goal is to keep the kit workable when it is needed.
Tool selection is often where the kit starts to take shape in a meaningful way. A factory does not usually choose items at random. It looks at what the user may need first, what can be carried without making the kit awkward, and what can be reached without delay.
In a typical workflow, the first step is sorting tools by function. After that, the factory checks how those tools fit together inside the package. A small item may be useful on its own, but it can become less practical if it is hard to see or difficult to remove. That is why the assembly stage matters just as much as the selection stage.
Common steps in the process include:
This part of the process is usually shaped by use, not by display. A kit that looks neat but is hard to open does not help much in a real outdoor setting. That is why the arrangement inside the package often matters more than the appearance from the outside.

Testing at this stage is usually kept relatively simple and close to real handling behavior. Instead of focusing on controlled conditions, attention is placed on whether parts still function smoothly after being packed, unpacked, and moved around multiple times.
In many cases, components are checked one by one. A tool may be opened repeatedly to see if it still feels consistent. Pouches are zipped and unzipped several times to observe whether anything becomes loose or harder to operate. Even the way items sit inside the kit is reviewed, since shifting inside the bag can affect how quickly things can be found later.
Common points observed during this stage often include:
This step is less about strict pass or fail decisions and more about small adjustments that make the kit behave more predictably in everyday outdoor use.
Feedback from actual use tends to be very direct. It usually does not come in technical language, but through small practical comments like difficulty opening a section, or needing to move items around to make them easier to reach.
These notes are often used to adjust structure rather than rebuild the whole kit. A change might be as simple as moving a tool closer to the outer layer or reducing one internal divider so the space feels less crowded.
Typical adjustments may involve:
Over time, these small refinements tend to shape a layout that feels more natural during actual use, especially when conditions are not controlled or predictable.
Packaging design in this area is closely tied to how quickly someone can react in a situation. If a kit takes too long to open or understand, even well-prepared items become harder to use in practice.
For this reason, structure is usually kept as straightforward as possible. Layers are arranged so that the most frequently used items sit in more accessible positions. At the same time, the number of steps required to open different sections is kept in mind, especially for situations where lighting or movement is limited.
Some practical design considerations include:
The goal is usually to make the kit readable at a glance and usable without needing extra time to figure out the layout.
Different outdoor activities naturally create different expectations for what should be carried. A short hiking trip often focuses on lighter carrying and essential items. Camping situations may allow for more structured setups with additional comfort-related components. Longer or less predictable travel routes usually require more flexible arrangements.
Because of these differences, a single fixed kit design does not always fit all situations. Instead, configurations are adjusted based on how the kit is expected to be used rather than how it looks when packed.
| Activity type | Typical focus in setup |
|---|---|
| Hiking | Compact structure and basic function |
| Camping | Extended use items and organized storage |
| Remote travel | Flexible arrangement and broader coverage |
The differences are not about making kits more complex, but about matching layout with actual movement and usage patterns in the field.
Across testing, feedback adjustment, packaging structure, and configuration planning, the process stays closely tied to how the kit is handled in real situations rather than theoretical design. In manufacturing discussions around this type of product category, Dongyang City Yonoel Outdoor Products Co., Ltd. is sometimes mentioned in relation to production practices and assembly layout considerations within outdoor survival kit development.

.jpg)
No. 52, Hulian West Street, Jiangbei Street, Dongyang City, Jinhua City, Zhejiang Province, China
Quick Links
Product Center
Contact Us
 English
 Deutsch
 Français
 русский
 Español